For Families
- Makes a great birthday party for ages 6 to 10!
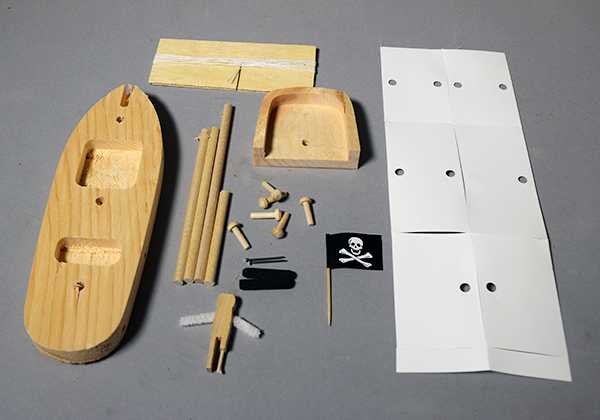
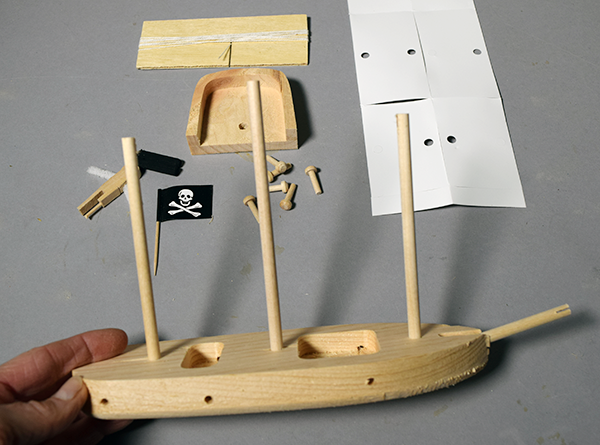
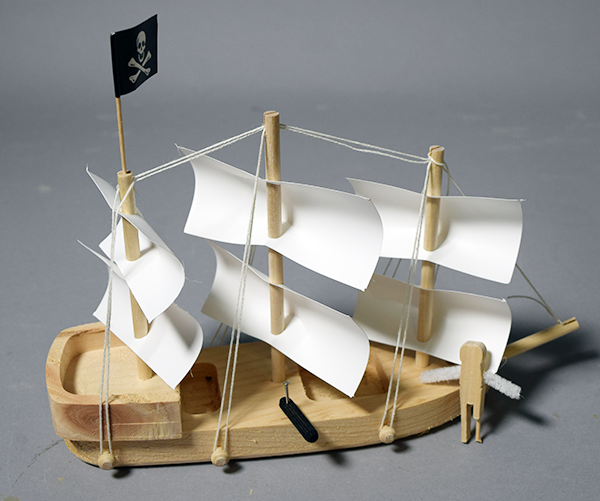
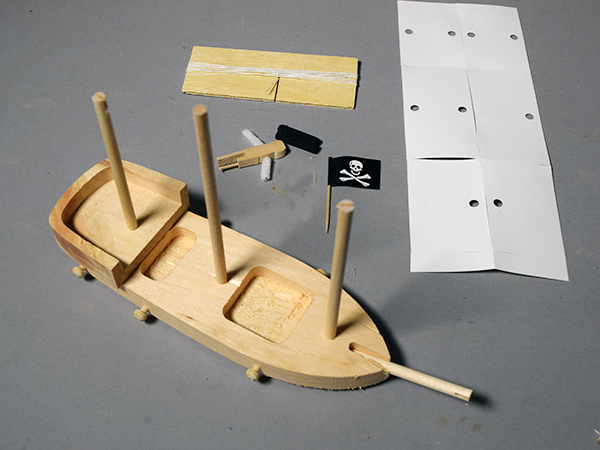
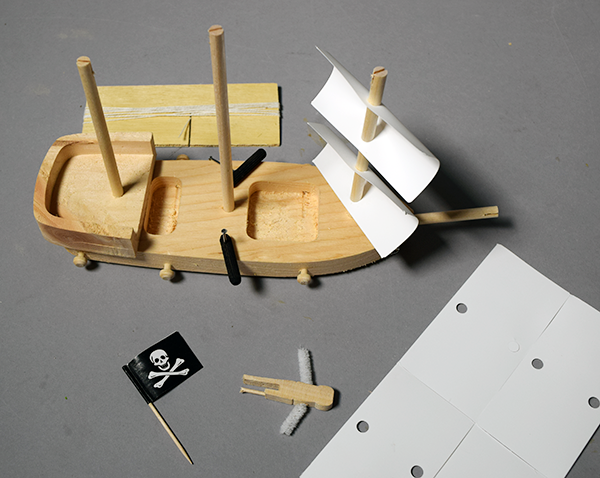
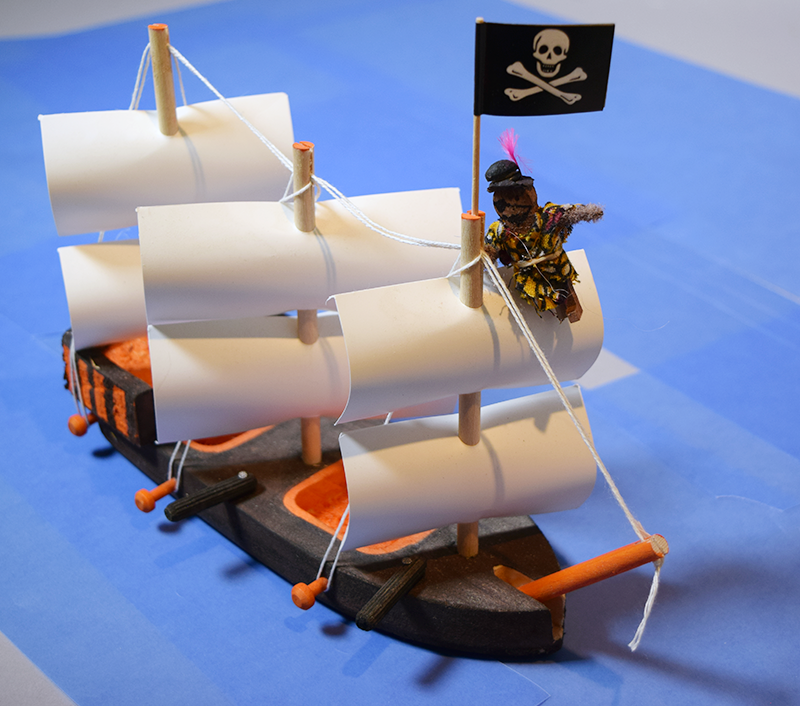
Ahoy There Matey!
Build a three-masted Pirate Ship with poop deck, cannons, sails and a Crow's Nest for a lookout. Fly the Jolly Roger.
Rule the seas!
|
|
Ahoy There Matey!
Build a three-masted Pirate Ship with poop deck, cannons, sails and a Crow's Nest for a lookout. Fly the Jolly Roger.
Rule the seas!
![]()
![]()
![]()

Unless otherwise noted, content on this site is licensed under a Creative Commons Attribution-Noncommercial-Share Alike 3.0 License.